GRANDMA BOB ORIGINALS
How about a Faux Kitchen?
Create realistic looking doll room(s) using cardstock, glue, printables, and your imagination!
10/6/20255 min read
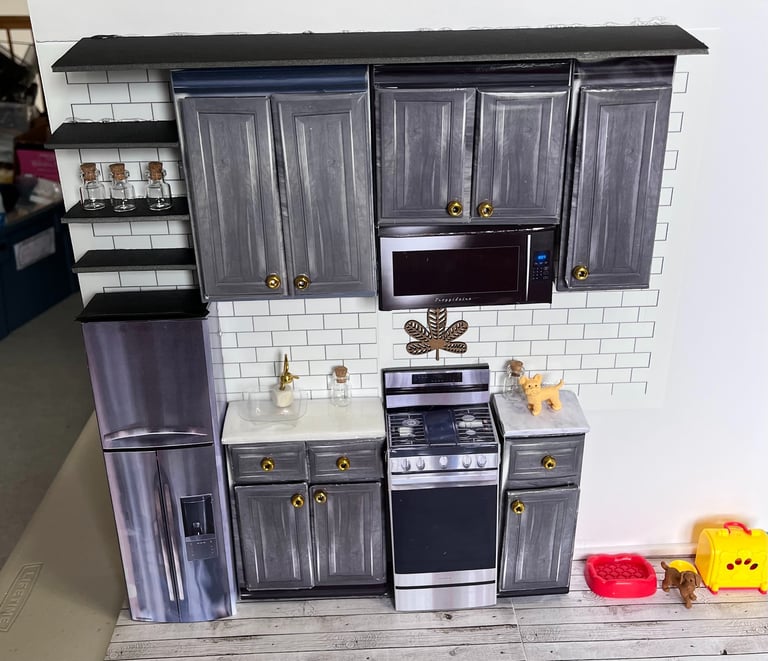

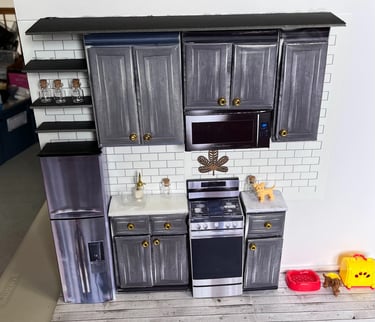
This is a fun one today. Instead of creating a whole house, I did 2 rooms using craft board (like the tri-fold display boards kids use for school) to make 2 rooms. This is the kitchen. The really cool thing is, those doors and drawers do not open. This is all just for show and made out of paper! I used black craft board and photo paper to make the floor, wall, cupboards, counters and appliances (be aware this project uses a TON of ink and photo paper.)
You can find the print-outs from one of my favorite adult doll collectors - Toya - who goes by "My Froggy Stuff" on her Youtube Channel. Printables found here. And the instruction video that Toya made is found here.

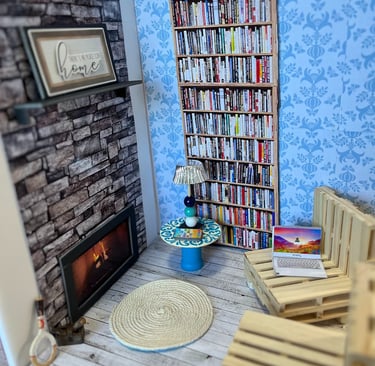
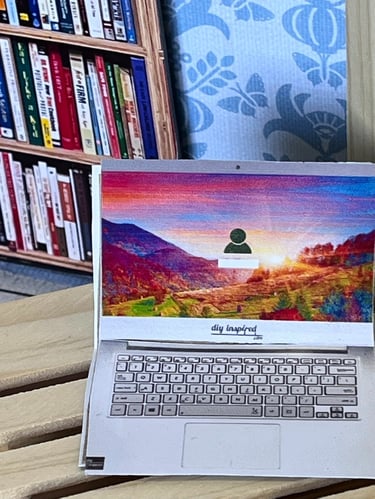
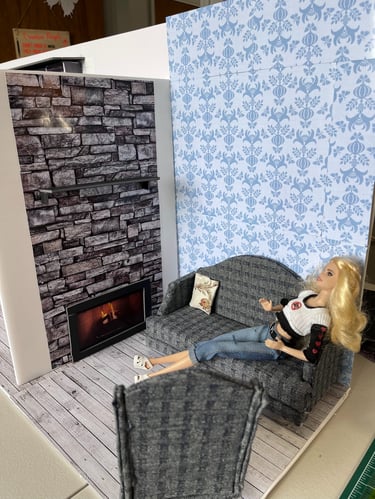
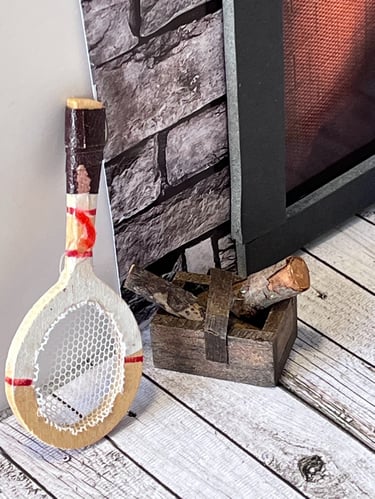
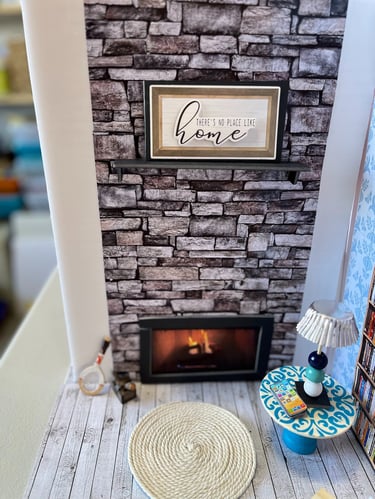
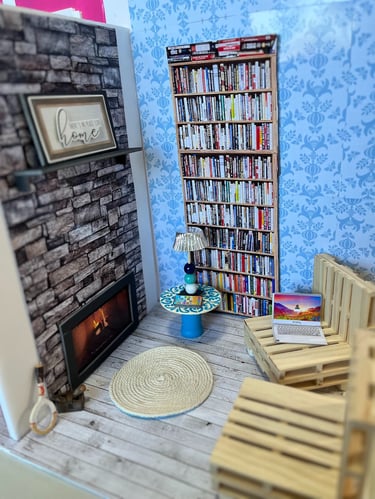
This is the second room on the other side of the kitchen wall. It has a cool fireplace outlined with black foam board for dimension. There is a foam board mantel glued on the wall which has a framed piece of art on it. The book case is only a printable. It looks realistic, but it's completely flat. I did outline it with some thin craft sticks to give it a little dimension also. The "wood" floor is scrapbook paper. That little rug is simple twine that is rolled in a circle and smeared with glue on the bottom to hold it together. Those chairs are made out of tiny pallets from the dollar store. I just glued them together to make a chair. I used a flat thin wood circle glued atop a spool for the table and I colored it with paint markers.
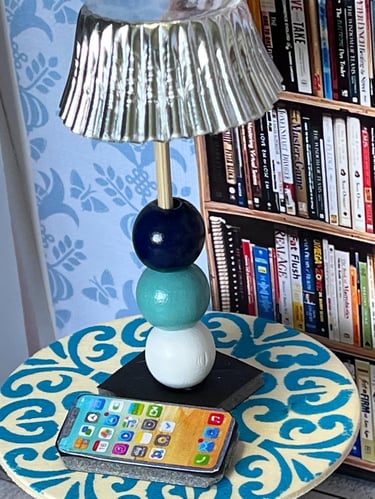
The lamp is a toothpick glued onto a base with plastic beads and a silver mini muffin tin liner for the shade. The laptop computer on the chair is again, a printable image from My Froggy Stuff which I printed on photo paper for strength and glued it.
The blue wall paper is scrapbook paper. The stone wall for the fireplace is something I printed out myself because it looks like the fireplace I grew up with.
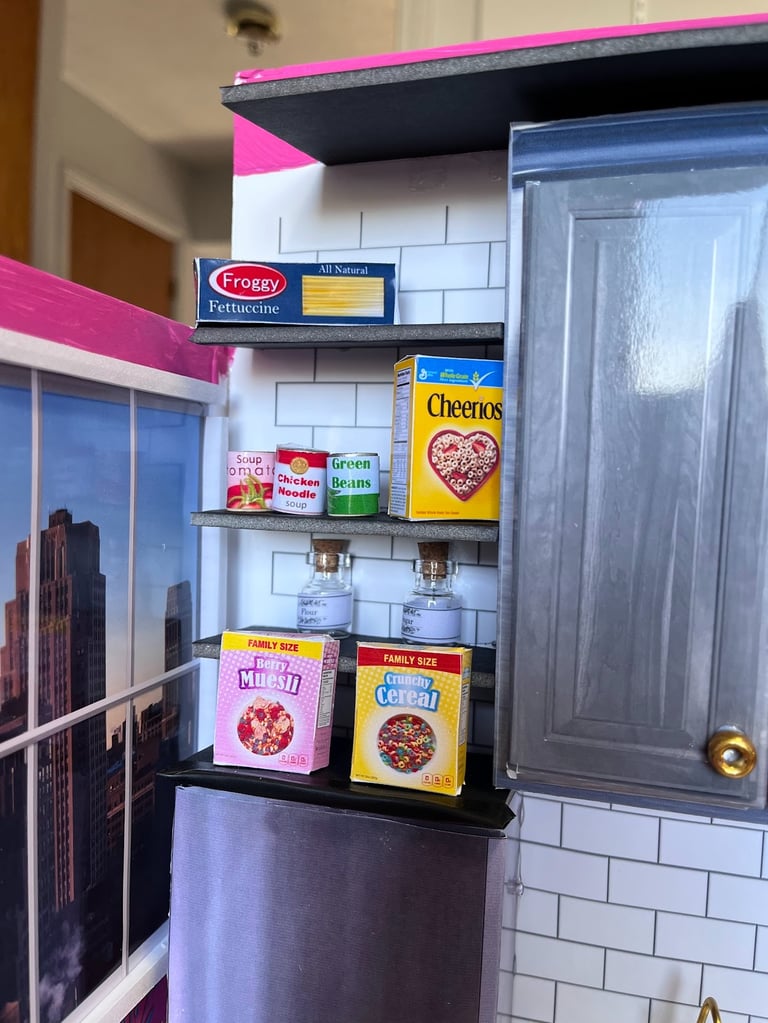
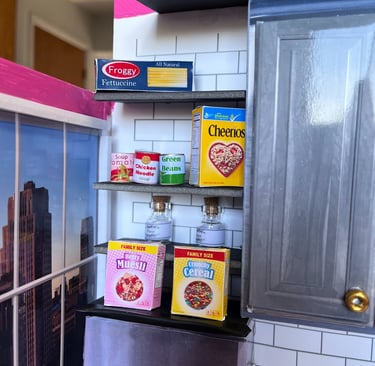
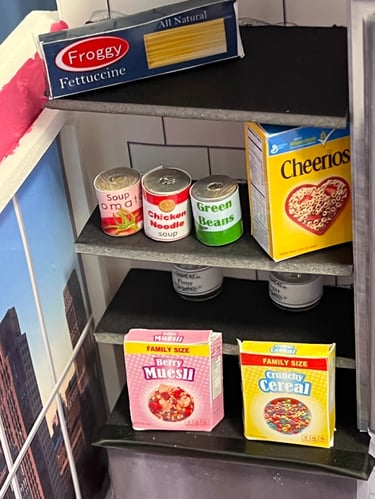
When I'm not crafting, I am a grandma who likes to bake so when I do doll house kitchens I like to add very realistic details. Look at the food boxes here! Printed on either cardstock or photo paper, these fold and bend and glue or tape together very easily. Those cans of veggies and soups are simply a glue stick that has been cut with an exacto knife and wrapped with a printable that I printed on sticker paper. The window to the left was printed from a scene that My Froggy has available and I outlined it with slices of white foam board to create the window frame. Find the printable file on Etsy at Dainty House Digitals.
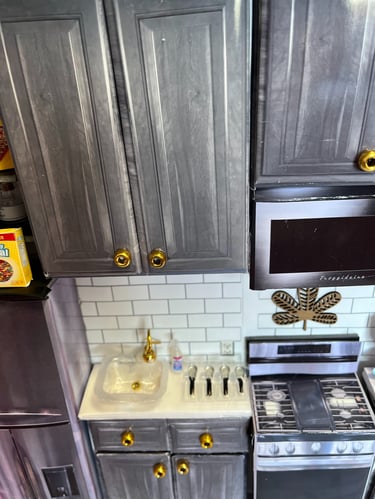
Those handles on the cupboard and doors are gold beads. If you don't have any gold colored beads, use fingernail polish to paint whatever little plastic beads you have.
I printed out the "subway tile" from My Froggy's printables also.
This is not for children to play with as it is not very sturdy and if they try to open anything, they can rip it off the wall. No, this is for adult doll collector/craft people who want to decorate a house just for fun.
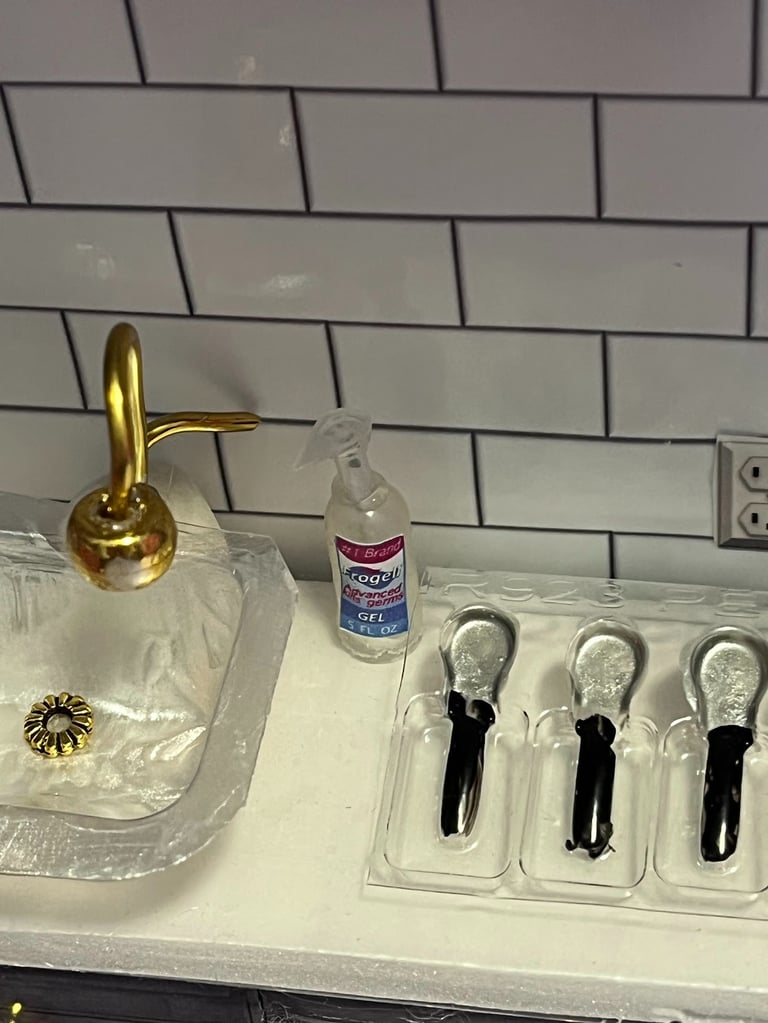
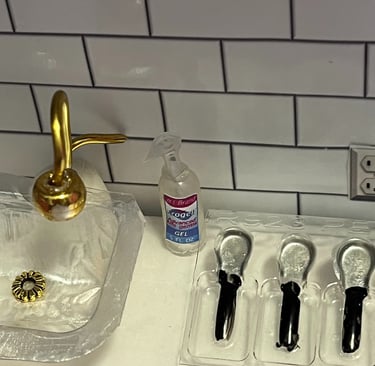
Every kitchen needs a sink and guess how I made this one? Ever eat those little packages of cheese and pretzels? This is the cheese container. The sink drain is a jewelry spacer. The faucet is floral wire with a bead painted gold.
That bottle of hand sanitizer was made from an empty medicine capsule. I printed out a label and the little top part that looks so real, was made from melted glue from a glue gun. If you put melted glue on a plastic or parchment paper surface and let it cool slightly, it is pliable enough to mold. I make a lot of my little jar covers like that.
The spoons... well, they are tiny fake fingernails from the dollar store painted silver and black. I used nail polish to paint them. Nail polish is expensive you say? Not if you buy it at the Dollar Store!
You can also just barely see the cute printable outlet on the wall.
It is the tiny touches, the little details, that really make things like this so fun to look at. People will think you're amazing and went to tons of work and must be so clever and all that. But between you and me.... we know how it all really got made. he he he.
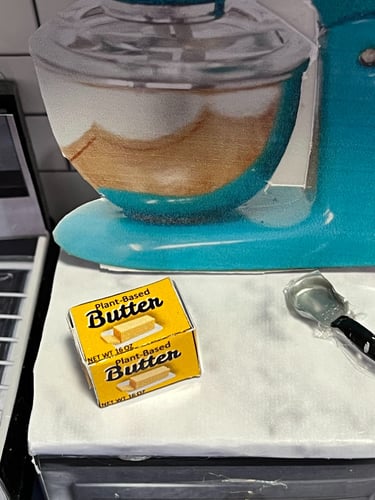
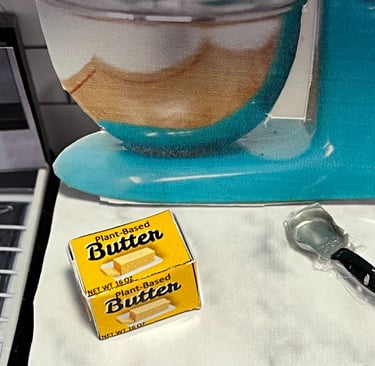
For a lot of money you can find actual doll size blenders, mixers, coffee machines etc from some Etsy stores. But I could not bring myself to pay that much so this is just a picture of a mixer that I printed, cut out and glued on foam board. It looks pretty "real" for my purposes.
The butter is also a printable from My Froggy.
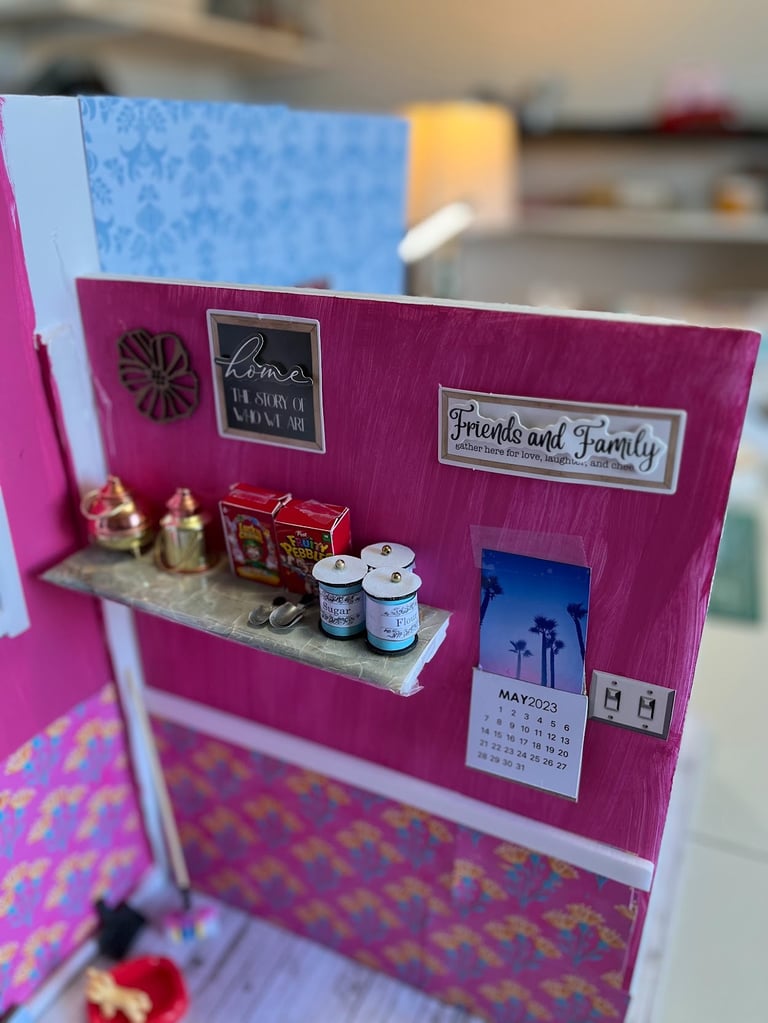
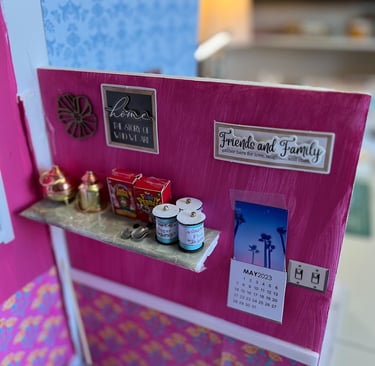
This brings us to the wall that divides the kitchen from the living room. Don't look too closely or you'll see my mess ups. I had a bit of trouble with the walls and the wall paper. So this wall just had some art on it, and a little printable calendar. Of course the light switches need to be there.
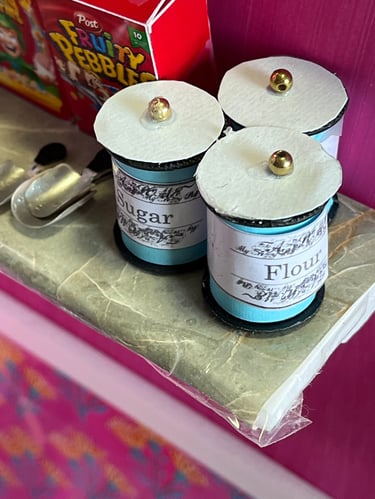
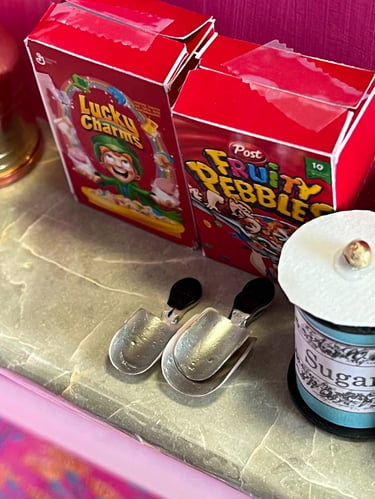
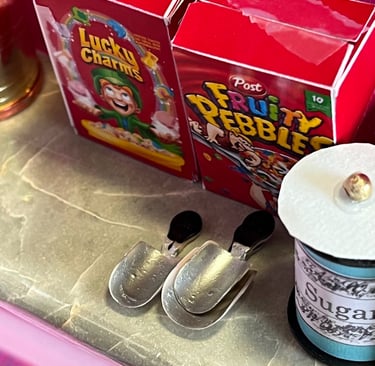
I made a shelf out of craft board and covered it with a marble type printed design. Those little copper pieces came from a yard sale. I made the cereal boxes. The canisters are blank spools (you can buy them here or at Hobby Lobby).
I cut white cardboard circles and glued them on top of the spools with little beads for the lid. The printable labels this time were on regular paper and taped on, but I wish I had done them a little fancier and put on sticker paper.
And once again those cool looking scoops that you would HAVE to have with your canisters are made from fake fingernails painted silver and black. I have to admit that I came up with that one all by myself.
I think I pretty much covered how all of this was done. And I will just end with a gallery of photos of this project.
If you have any questions, please message me. Don't forget to follow me on FaceBook, Pinterest and Instagram. I am not on any other social media platforms.
And once again there are links to the products and ideas I have used. If you choose to purchase through my easy accessible links, it does earn me a small commission at zero cost to you. It is how I keep my blog going and as a Grandma I am on a very fixed income and anything extra sure does help. I thank you for time and interest!