GRANDMA BOB ORIGINALS
The Sophia
Barbie house featuring a baby nursery and living room ready for Santa!
10/5/20257 min read
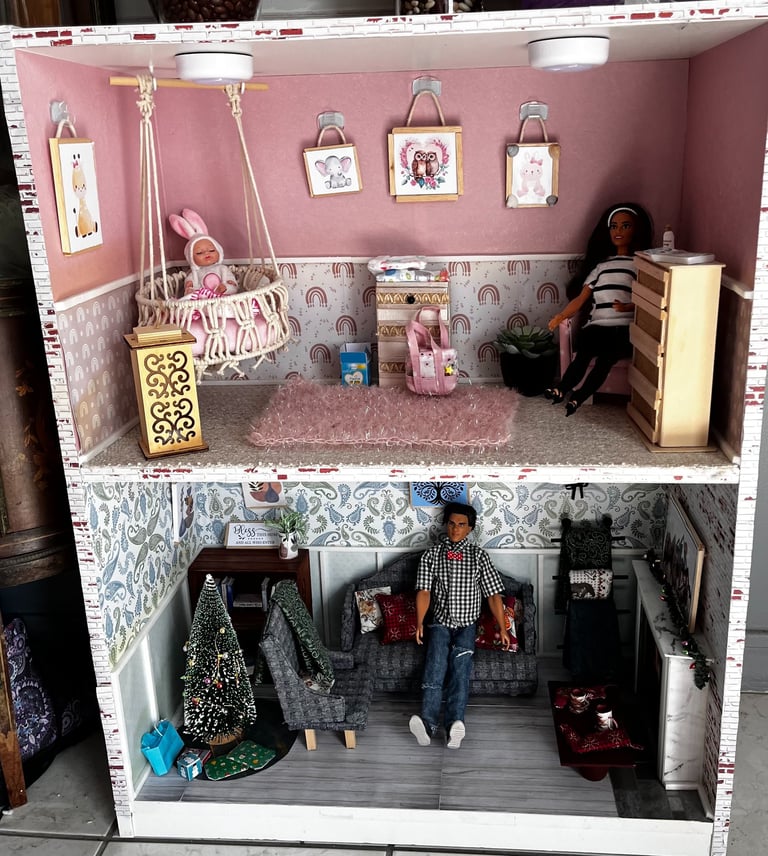
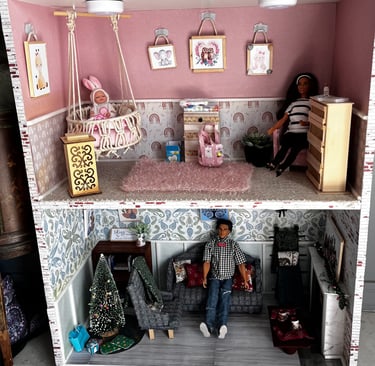
A doll house needs a good foundation. We found a solid wood bookcase with a back at our local thrift store for $20. We have also found bookcases to use on Facebook Yard Sale posts or shopping at local Garage sales. This particular one has 2 levels. We decided to make the bottom a "living room," and the top the "nursery."
I wanted the top and bottom of my walls to be different. This fun blue pattern is from a roll of sticky shelf liner at the Dollar store. The bottom blue wall is scrapbook paper. I cut sticks of foam board for the chair railing which I purchased on Amazon. I knew I wanted a fireplace in this room so the far right wall is a brick pattern scrapbook paper.
I also used scrapbook paper for the floor.
Believe me when I say you will never look at trash or throw-away items the same ever again. Your mind will start envisioning what kind of Barbie object you can use it for.
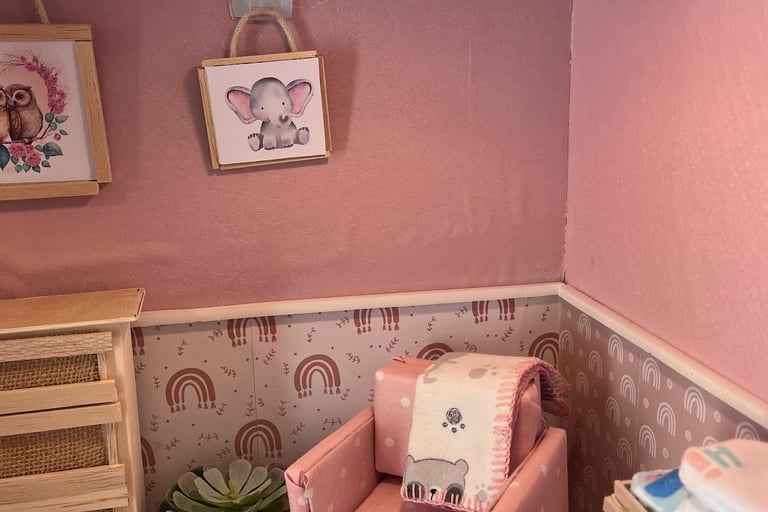
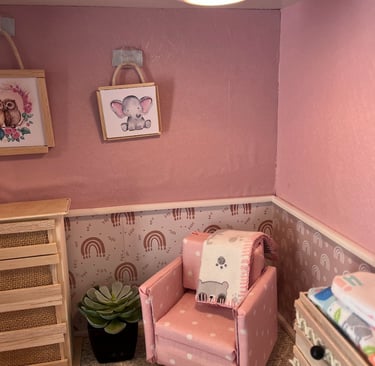
The baby nursery has a pink scrapbook paper for the top and yes, it did wrinkle from the glue. The bottom is actually a printable wall paper that I printed out on my own printer on photo paper. I used foam board strips again and glued those on as the railing. I bought packs of craft foam board on Amazon. I used a ruler guide and an exacto knife to cut the strips. Though you can't see in this photo, I used a piece of scrap fabric that I bought at a sewing store for the rug.
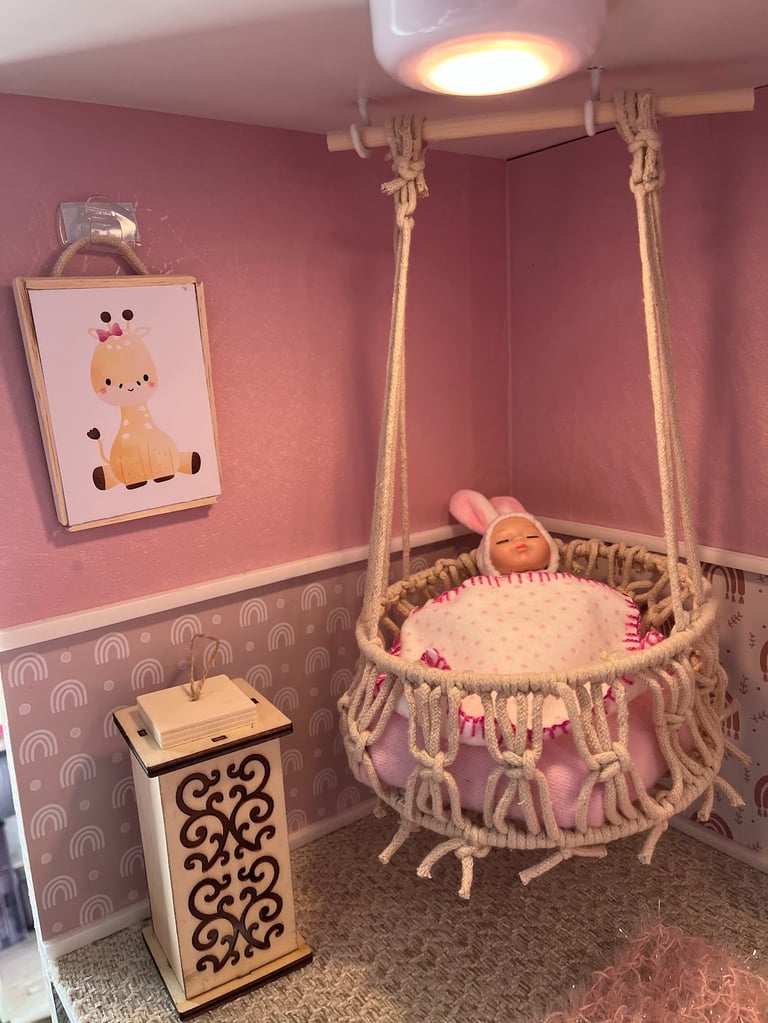
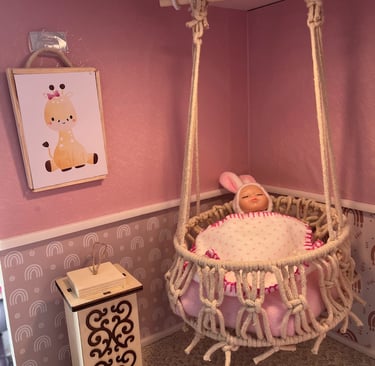
Let's stick with the nursery for now. I printed out a cute animal photo on glossy photo paper and glued it onto a piece of foam board. I then glued some flat sticks (think coffee stirs) around it like a frame. Glued on a piece of rope and hung it off a little hook that stuck on the wall. The baby swing/crib is actually a plant holder from a store called Five Below. Now please keep in mind that I do NOT come up with this stuff on my own. I spend hours on Pinterest ), and I follow many doll collectors on Youtube. My favorite one being "My Froggy Stuff." She has so many amazing ideas and custom made printables that she lets anyone use for FREE. More about my inspirations in a later post.
This fun light box on the floor (the light is off in this photo) is from the dollar store. And the round room light at the top, stuck on the ceiling is from Amazon. It is a touch on/off light and perfect for doll houses.

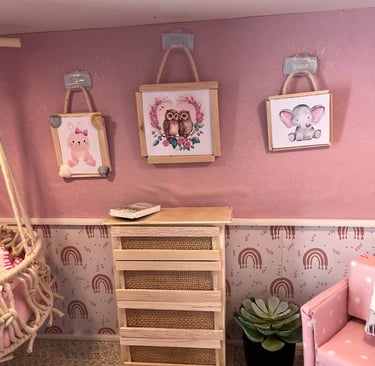
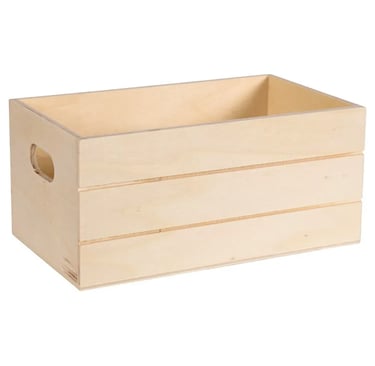
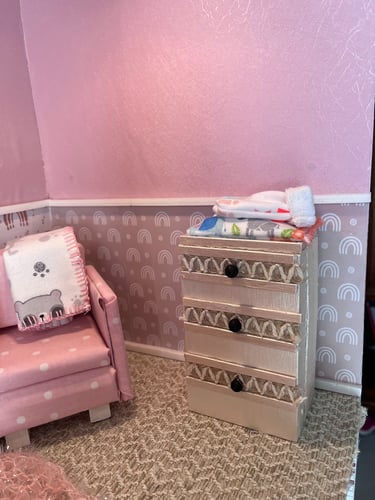
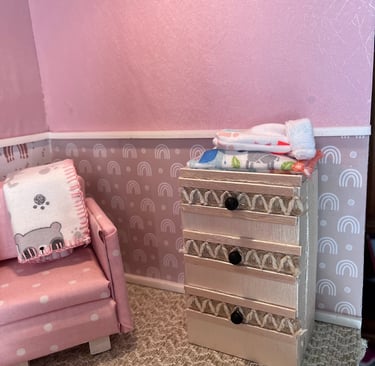
That box above, and similar ones, are from the Dollar store and I used it, turned it long ways, to use as a changing table or dresser. I glued a piece of burlap ribbon onto the back, and then used cut sticks across it to simulate drawers. One some, I glued little beads as handles, but not on this one. I bought dozens of those boxes because they were great to use as cribs, or tables, or book shelves etc. The top is a thin piece of board glued on. Or, you can use cardboard or cereal box board covered with paper.
I carried the theme of the cute little animal printed pictures across this wall. I hung them with string, but in future houses I glued the artwork onto the walls because I didn't care for the little hooks showing so much.
That cute little plant came as-is from, you guessed it, the Dollar store. I used some very thin sparkly yarn to crochet a little rug that I laid on top of the "carpeted" floor.

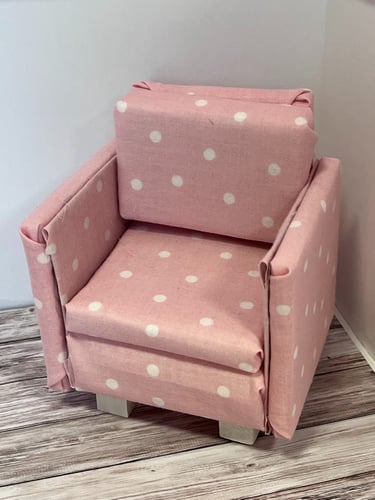
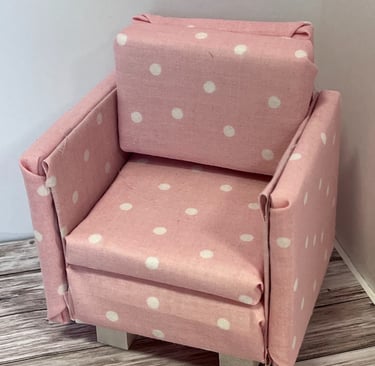
I will be honest with you, this chair was not easy to make. I will discuss this in a future post. It is made from sponges, cereal board, cardboard, fabric and glue. Little wood blocks are glued on the bottom for legs. You will hear me refer to "cereal board" often, it is nothing more than the empty box of cereal cut up. This required a hot glue gun.
Here we have another faux dresser made out of the wood box. I glued ribbon made from burlap and twine across the box and then framed it with the coffee stir sticks. This one does have some black plastic beads glued on as a handle.
You can also get a great view of the carpet in this photo. It was just a scrap fabric bought at JoAnn's (which is out of business now). But doesn't it look like real carpet??
If you look very closely you can see that the wall paper on this wall is slightly different from the one beside it. It's a complimenting pattern. I printed it out myself. I don't remember where I got it.... grandma is forgetful.
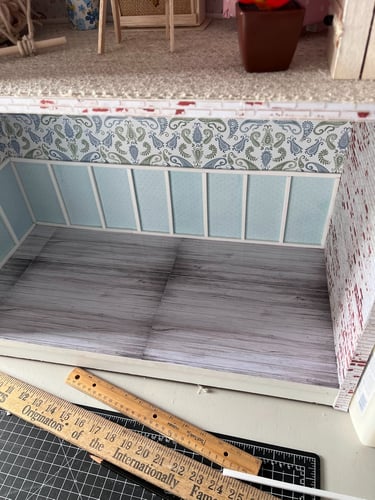
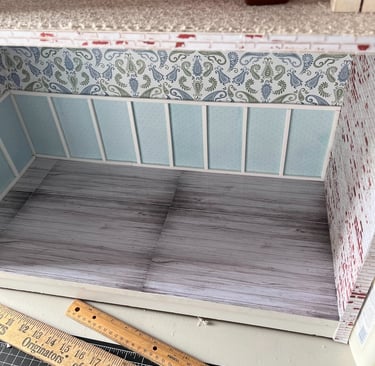
Now let's go to the lower level:
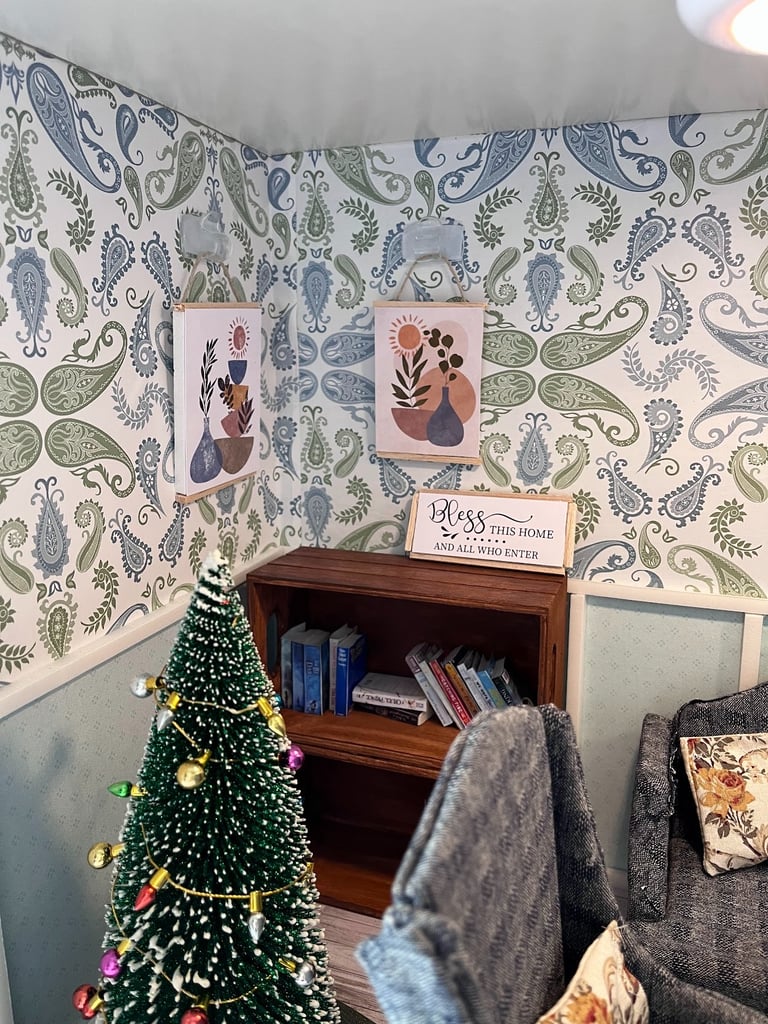
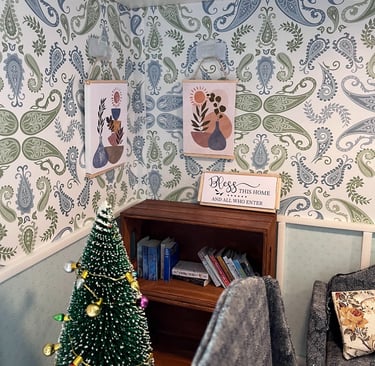
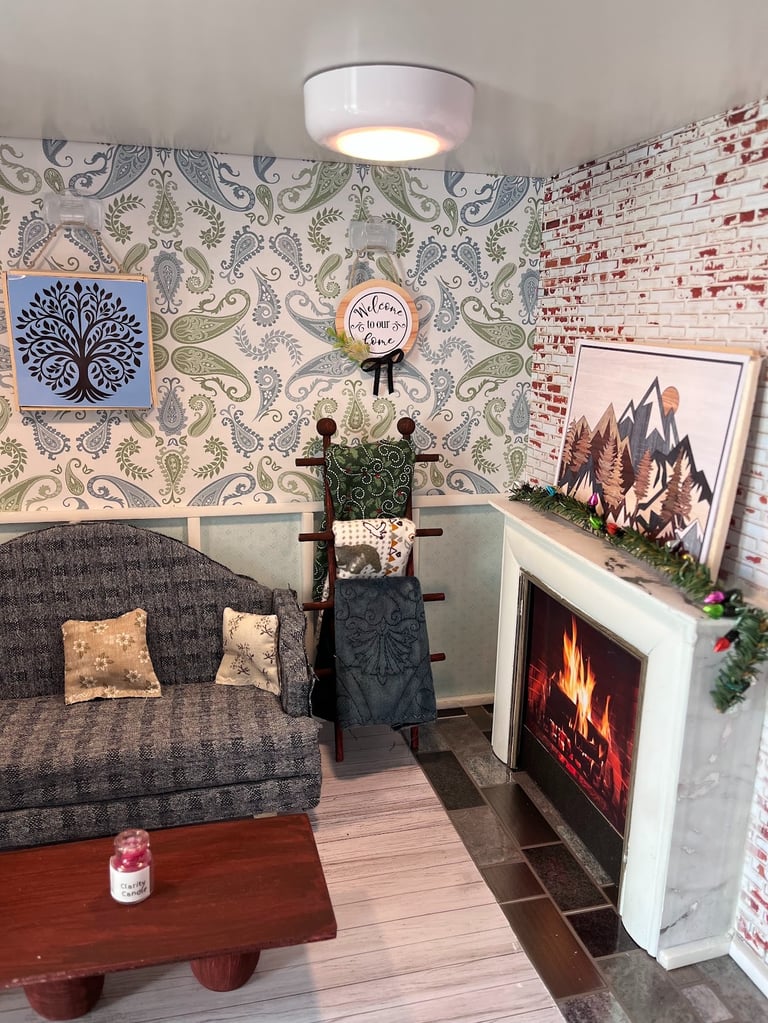
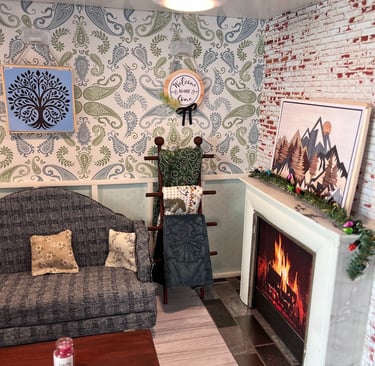
This awesome paisley wall paper is nothing more than some sticky backed shelf/drawer liner. The complimenting lower wall is again, scrapbook paper. And the railing is white foam board. Want to guess how I did the bookshelf? Remember the box from above? Well, this is two of them glued together! I stained them first, then glued them together. I made literally dozens and dozens of tiny little books for my various houses. I love to read and so do my Barbies! I will do a separate post just on making the little books with links to my favorite printable sites.
It was Christmas time when I made this house so we got a little tree from Hobby Lobby. Those lights on the tree actually worked. Guess what it was? A necklace! Hobby Lobby had christmas light necklaces that actually blinked and I just used that! The artwork and sign, again, were print and cut on my Cricut. But you don't have to have a Cricut. You can easily find images online that you can download and print out. I always used glossy photo paper for these because they had a sheen and more strength than regular paper.
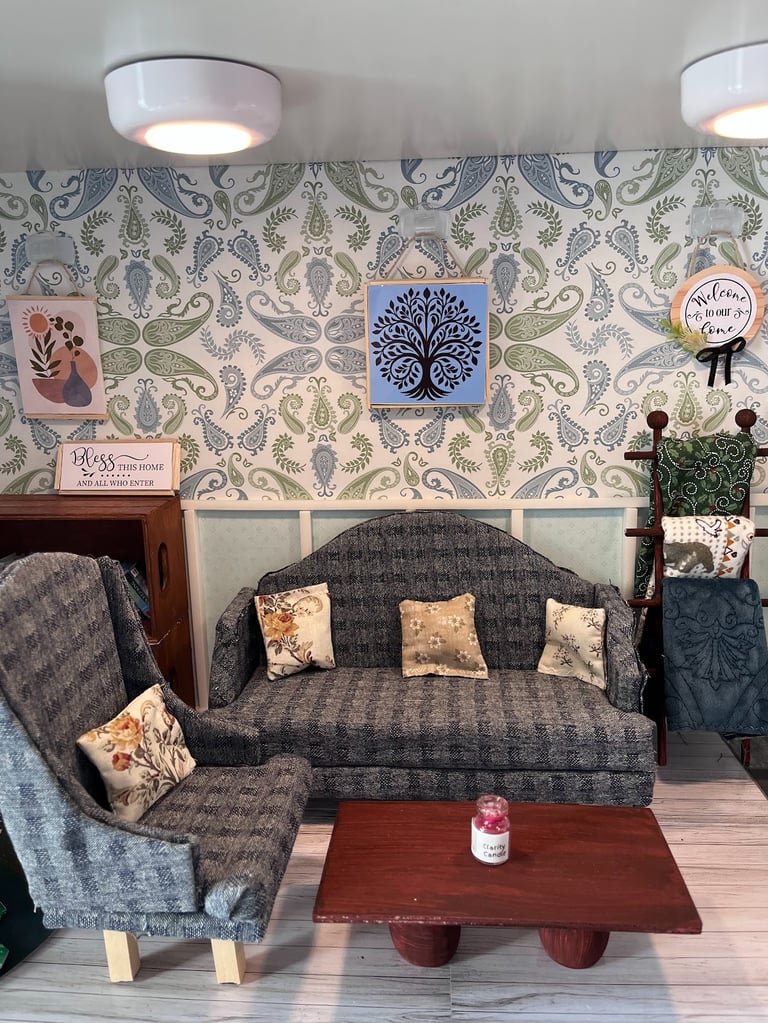
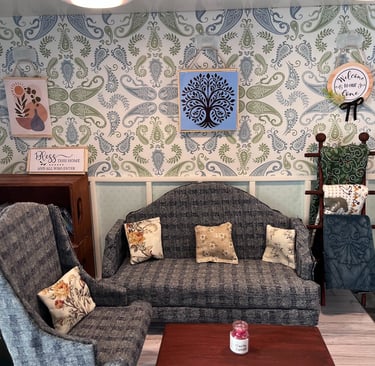
Isn't this sofa and chair amazing? And I am proud to say "I made it myself!" Well, with some help from another adult doll collector who gives out the pattern for free. It is another project made from cardboard, sponges, fabric and glue. It is not beginner level. I'd call this intermediate and I was just a beginner when I did it which is why there are some flaws. I have linked the patterns from Poppy Seed Mini.
That table is just a piece of board - you can buy very thin pre-cut circles and squares and rectangles at any craft store. I painted it and glued it on top of some cut dowel rods.
Over to the right, is a blanket rack. With handmade blankets on it. This was fairly simple to make using thin dowels glued like a ladder. It did not stand on it's own, I did have to lean it against the wall. But the blankets looked amazing on it.
See that little "candle" on the table? Amazon or the Dollar store actually has teeny tiny glass jars you can buy. I melted a birthday candle and let it drip inside the jar. I printed a label I designed myself using an Avery sticker. I printed it on sticker paper and cut it out, wrapped it around the jar. I then used a glue gun to just melt a blob of glue and press it flat to look like a lid. I glued it to the top of the jar. Voila! Yankee candles for Barbie!
Don't actually burn it though! It is for looks ONLY.
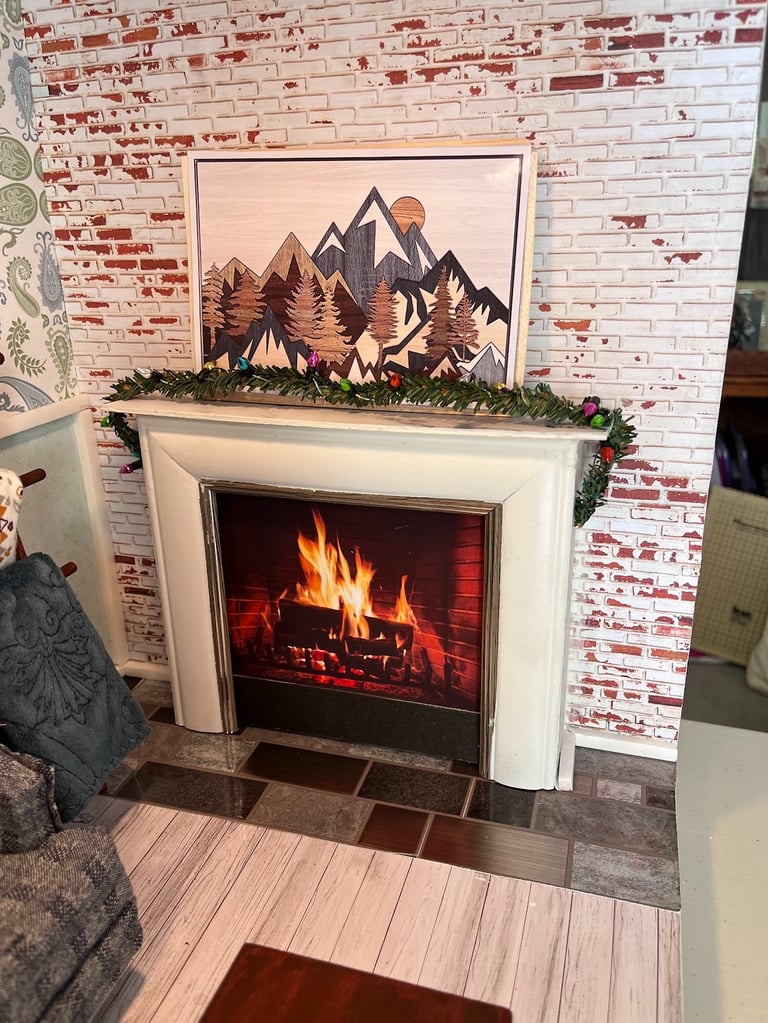
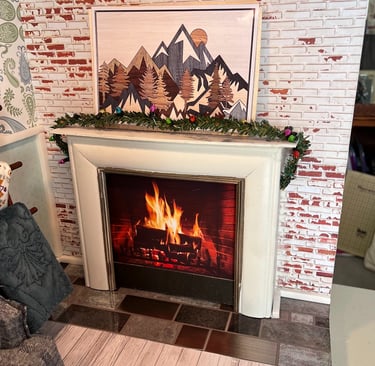
Now this is one of my favorite parts of this house. The fireplace! Looks pretty realistic doesn't it? Once again I bought a picture frame from the dollar store and had my husband cut it in half with his saw. I printed out a fireplace fire and glued it to the back of the frame. I used black cardboard on the very bottom to give it some depth. We glued the frame to the wall. For the mantle I again used a very thin piece of wood that I covered with a marble look paper that I printed myself. That miniature garland came from AMAZON. The tile flooring in front of the fireplace had to be there because I had a wood floor - and what if sparks fly onto a wood floor? A real house would have a heat barrier. This is from the dollar store peel and stick tiles for back splashes. I never got around to actually hanging that big art piece on the wall. So it is propped up on the mantle. But doesn't that look amazing with the brick wall, and that fire?
So there you have it! Our second doll house completely finished using lots of fun items from my favorite shops.
I want to thank all my Pinterest inspiration providers, Dollar Tree, Hobby Lobby, Youtube doll collector channels (My Froggy Stuff and Poppy Seed Mini) and especially Amazon for providing materials and ideas to create this project and more.
Coming up soon: A "Hello Kitty" themed Barbie closet/dressing room.
A doll house with a "working" laundry room.
And "single room" creations instead of an entire house.
This post contains affiliate links. If you make a purchase through these links, I may earn a small commission at no extra cost to you. Thank you for your support.
The Sophia
I started naming all my doll houses after my granddaughters. My granddaughter Sophia was pregnant with my first great-grandbaby so she got the house with the nursery.